
Sources checked

Choose the food and a tested process first
Dehydration is useful when the household wants a particular dried ingredient and can follow an appropriate tested method. Decide how the food will be used before processing a large harvest. A small batch of fruit for snacks or vegetables for a familiar soup provides a clear learning goal; a shelf full of unwanted dried food is not a successful preservation plan.
Use current guidance from the National Center for Home Food Preservation or a local Extension food-preservation program for the exact food. Preparation, pretreatment, slice dimensions, drying conditions, and storage differ. A single “dry everything at this temperature” chart should not replace food-specific tested instructions.
Compare equipment by control, cleanup, and the available space
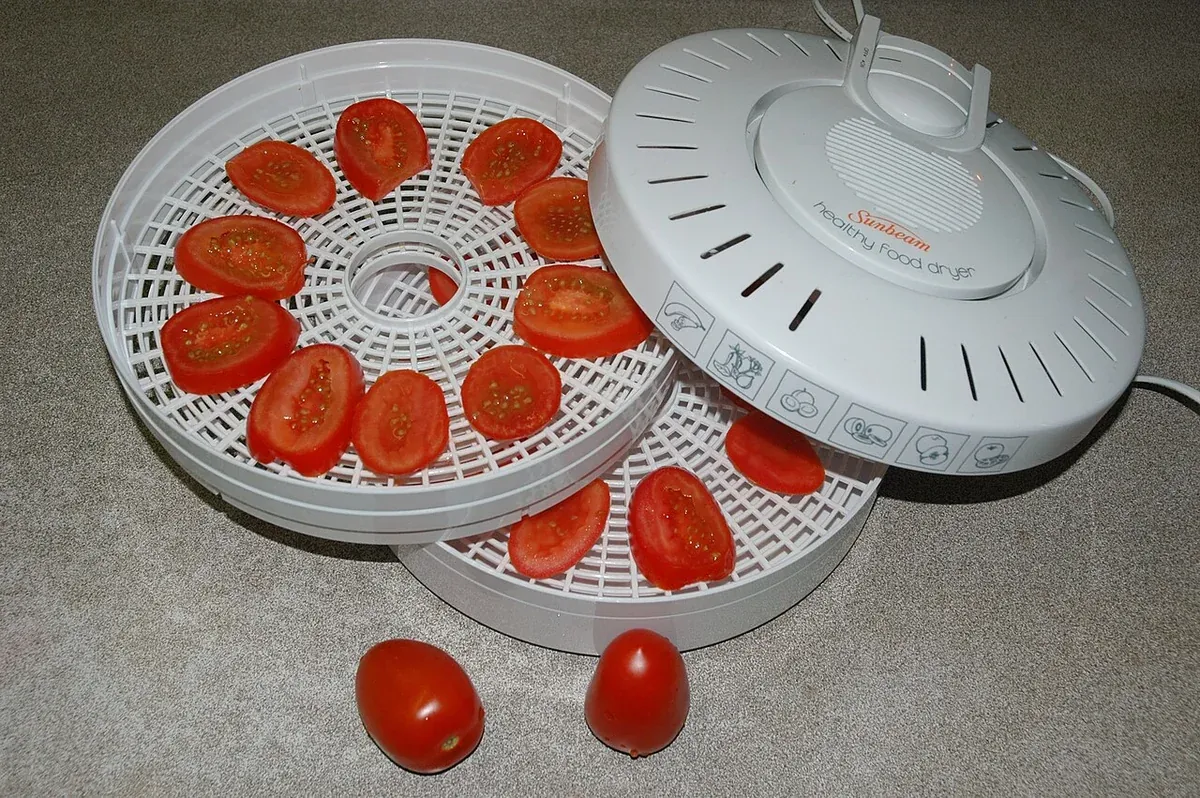
A purpose-made dehydrator supplies heat and airflow. NCHFP describes horizontal and vertical airflow designs and their different handling of trays, flavors, and drips. Choose a suitable appliance with the temperature control and capacity required by the tested process, and follow its installation, electrical, ventilation, and cleaning instructions.
Before buying, measure countertop and storage space, how trays will be washed, and the quantity you can prepare and package at one time. An oven or outdoor method is an option only where the relevant tested guidance supports that food and setup. NCHFP equipment guidance is historical instructional material, not a current product recommendation or price list.
Prepare a manageable batch consistently
Use sound ingredients and clean equipment, then follow the food-specific preparation and any required pretreatment. The NCHFP fruits-and-vegetables resources link to food-specific Extension methods, including vegetable-specific blanching instructions where required. Slice consistently according to the tested directions so you are not managing very different pieces as one batch.
Record the food, quantity, preparation, appliance setting, start time, tray arrangement, and the observations used to judge completion. Do not guess safety from elapsed time alone or use a larger batch to compensate for an uncertain process. Begin with an amount you can inspect, cool, package, and use without rushing.
Understand conditioning and storage
NCHFP recommends conditioning cooled home-dried fruit in closed containers for seven to ten days, shaking daily and checking for condensation. Condensation means additional drying is needed. Conditioning helps distribute remaining moisture among pieces; it is not a rescue for spoiled food. NCHFP advises discarding moldy dried foods.
After the appropriate drying and conditioning steps, use clean, dry, suitable containers and store the food in a cool, dry, dark place. Package amounts that suit your recipes, label the batch, and check stored food. Moisture reabsorption and warm storage affect quality and keeping time, so follow the food-specific storage guidance rather than assigning every dried food the same shelf life.
Meat jerky needs a separate safety process
USDA FSIS recommends heating meat to 160°F (71.1°C) and poultry to 165°F (73.9°C) before the dehydrating process for homemade jerky. A dehydrator setting is not proof that the food reached that internal temperature first. Use a food thermometer and follow the complete USDA method, including handling, drying, and storage.
Marinating does not by itself make raw meat safe, and USDA does not recommend sun-drying meat jerky. Keep raw-meat handling separate from produce and ready-to-eat food. If the available equipment cannot support the tested process, choose another preservation method or properly produced ready-made food rather than improvising a shelf-stability claim.
Measure usable output and energy
Keep the starting quantity, finished usable quantity, food used later, and any discarded food in the batch record. Dried weight is not the same as fresh-food weight because water has been removed. Do not call the weight reduction spoilage or compare purchase prices per pound without defining what you are comparing.
For an energy example only, an appliance averaging 500 watts for eight hours would use 500 × 8 = 4,000 watt-hours, or 4 kilowatt-hours. The wattage and time are hypothetical, not a drying recipe or product specification. Measure your appliance and follow the tested process; on an off-grid system, include the full task in the load and storage plan.
FAQs and mistakes to avoid
Does vacuum packaging make uncertain food safe? Complete the tested preservation process first; packaging is not a substitute for it. Can I simply use the dehydrator’s jerky preset? Verify the USDA heating step and complete method for the actual food and appliance. Should I dry the entire harvest immediately? Start with a small tested batch and a clear use for the finished food.
Avoid skipping required preparation, mixing large and small pieces without inspection, packing food while still warm, extending storage dates by guesswork, or treating a lack of visible moisture as proof of every safety condition. Preserve a batch you can process correctly, label clearly, store appropriately, and use in the household’s normal meals.
Sources & further reading
Official guidance and original source material used for the factual points in this guide. Planning examples and worksheets are our own illustrations.
- National Center for Home Food Preservation: Food dehydrators
- National Center for Home Food Preservation: Drying fruits and vegetables resources
- Montana State University Extension: Drying vegetables
- Colorado State University Extension: Drying fruits (reviewed August 2025)
- National Center for Home Food Preservation: Packaging and storing dried foods
- USDA FSIS: Making meat or poultry jerky at home
- USDA FSIS: Jerky and food safety
Checked 8 October 2026. Location-specific rules, availability and product specifications can change. Suggest a correction.